For this style, you'll need a brush, water, and something to pull your hair back with. For this style, you can use a ponytail holder, barrette, clip, or bobby pins. Any of them will work, so it's up to you how you want to accessorize.
First, use the method described in Part One: Basics and High Ponytail to brush back the top half of your hair, like you were going to do a high ponytail, and hold onto the hair you have brushed back.
Brush hair from the sides to add it to the hair you are holding.
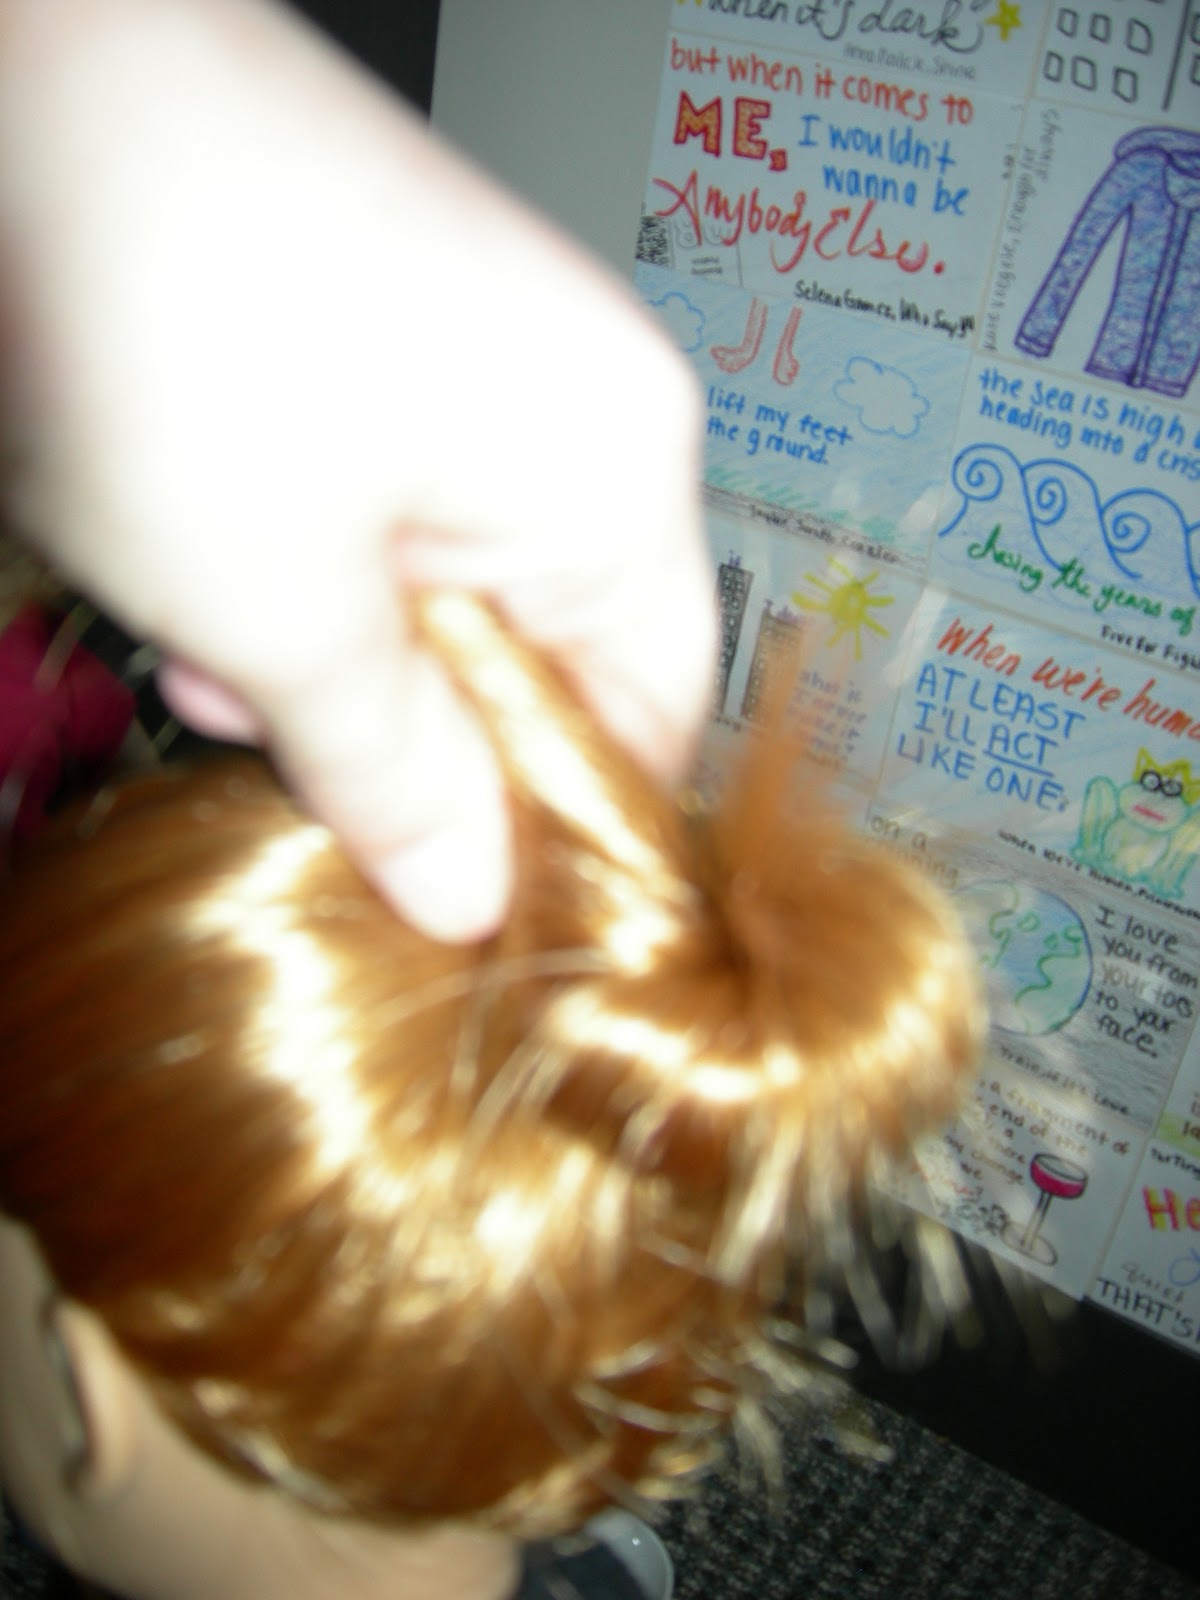
You should now be holding onto about this much hair:
All you need to do to finish the half-ponytail is to use whatever hair accessory you want to secure it. My tip is to twist the hair a bit, so that it stays together while you put the accessory in. I showed it with both a ponytail holder and a clip. If you want to use bobby pins, I usually use 2-3, and insert them from both sides so that I catch all of the hair.
Here is the style from the back:
And the front:
Variation 1: Gather the rest of your hair with the hair from the half-pony into a low ponytail for a cute style.
Variation 2: Make a "pouf". When you are twisting the hair you gathered for the half-pony, gently push it up a little bit before you secure it with a hair accessory. I think a clip works best to keep the hair in place for a pouf. (I will be doing a separate post later on another method of doing a pouf.)
For this style, you'll need a hairbrush, ponytail holder, water, and bobby pins/hair grips.
You can do a side ponytail on either side, I just tend to do it on the side with more hair. I think it's easier to control that hair when you aren't moving it around the back of your head. Plus, there are less layers to fall out. (This is normal with side ponytails and you will probaby end up bobby-pinning the back.)
Start with your hair gathered like you are going to put it in a low ponytail.
Then, gently shift the hair over a little to the side.
With your other hand, run your thumb along your hairline to keep it in place (not going in your eye) and use your palm to smooth down the hair from the top/front. You should do this while you are holding onto the hair loosely so you don't lose it, I just took two seperate pictures to show the differnet processes. You can brush your hair during these steps too if you need to.
I feel like that step was a little hard to explain so I hope it makes sense.
Do this in a few small increments until the hair is at the side of the nape of your neck. Secure the ponytail holder around your hair, brush out the ponytail, and you have a side ponytail! (Sorry for the weirdo glare on my forehead. I don't have mold growing on my face, honestly...)
Oh wait...
If you look in the back, there might already be some hair falling out. Because of the layers, not all of your hair is going to reach around to the side. THIS IS NORMAL. You can see a little bit starting to come out in mine; the longer you leave it in or the more you do while wearing this hairstyle, the more likely you are to have some layers fall out. I had just finished doing the style in this picture.
Using a little water to help you hold the hair in place, bobby-pin it to your head. (My bobby pin is sparkly if you can't find it in the picture, lol.)
You can even slide the bobby pin(s) under the longer layers so you can barely see it.
It might be a good idea to carry around an extra bobby pin or two while wearing this style to do some touch-ups if you need to. Even Colleen does that, and she's a human.
**Also!! I don't have pictures, but you can apply the same technique for moving hair to the side with a high ponytail to do a high side ponytail. I think the low version is a little trickier, so that's why I chose to focus on that.**
Song Challenge Day 07 - a song that reminds you of a certain event
Are these things TRYING to incriminate me? ;)
How I Style My Hair, Part Three: Low Ponytail and Pull-Through Ponytail
I think low ponytails are a bit harder to do with my hair, because you don't have as much control. It looks deceptively easy, but you're at more risk of random layers falling out of the ponytail.
For this style, you'll need a brush, water, and a ponytail holder.
Start with your hair brushed back. It helps to kind-of have your hair on the longer side-part side brushed back towards the back of your head. This will keep it from ending up in your eye later.
You'll do this all in one long-ish step. Brush the sides back, gathering your hair at the nape of your neck. On the side with the side part, take care to brush up and away from your face (not just to the side), so that the hair isn't in your eye.
This next step is optional, but might help keep your hair together before you put the ponytail holder in. Twist the hair together gently.
Now put the ponytail holder on.
Like with the high ponytail, brush out the ponytail using some water.
One problem you might encounter with this style is finding your hair in your eye. If this happens, you either a) need to redo the ponytail, taking more care to brush/gather that side of your hair back and away from your face, or b) can try this tip.
Sometimes, an easy fix is to dip your thumb in water, and run it along your hairline, pushing your hair away from your eye.
Ta-da! Low ponytail!
Variation: Use the ballet bun technique from my last post, but start with a low ponytail to get a low bun - a pretty style for fancy events!
The second part of this lesson covers the pull-through ponytail, which is a variation of the low ponytail. Start with a loosely-secured low ponytail.
Using your finger, poke a hole through the hair above the ponytail.
Flip the hair in the ponytail up...
And grab it from below, pulling it all the way through the hole.
Pull the ponytail holder tighter to secure the style. And I'm not sure if this is really GOOD for your hair (I always do it though), but after you do that, you can seperate the ponytail part into two sections and gently pull them apart... this moves the ponytail holder up and it also helps to make the style tighter/come together more. Be careful though, because if you pull too hard it can make the style look weird.
If you have fly-aways, you can sneak in with some water on your finger, especially right above the ponytail holder. This is a common spot for layers fail for me, so don't be surprised if you have to fix some fly-aways here.
Song Challenge Day 06 - A Song that Reminds You of Somewhere This might sound a little weird, but maybe not. When I was studying abroad, I bought Sara Bareilles's new CD on Cyber Monday for like $2. I first really listened to it on the train to Liverpool. So whenever I listen to this CD - and especially this song, because it kind-of related to the unknown of living in a foreign country - I think of Liverpool.
How I Style My Hair, Part Two: Ballet Bun
This was a NECESSITY for skating and ballet (I took ballet to help with my skating). So I'm not just doing this style for fun... I bet there are a lot of you out there need to be able to put your hair in a bun.
For this style, you need: two ponytail holders, bobby pins/hair grips, WATER, brush
You'll want to start with a high ponytail from the last lesson.
First, start twisting your hair to one side. Get it WET!! The layers complicate the bun because they go all over the place. Water will help your hair stay put.
Like I said, I live in a really dry climate... so my hair is usually extra messy. That's okay, you'll fix it later.
After your hair is twisted in a column like the above picture, start twisting it back on itself to form the bun shape.
Twist your hair all the way around to complete the bun. It may look messy. You'll fix it in the next step.
Okay, now the next part is just slightly tricky. You want to cup one hand (your non-dominant hand) around the entire bun. With your other hand, start dipping your finger in water and smoothing down ALL the fly-aways. Tuck the fly-aways between the hand holding the bun and the main part of the bun.
It looks a lot better already, no? The next step has two parts. 1. Using the hand that's not holding the bun, pin the ends of your hair in place - the end of the big column that you wrapped around the ponytail holder. You can move your thumb, but the point is to keep holding onto the rest of the bun. 2. Slip the other ponytail holder around the bun in place of your hand. This will help hold a lot of the fly-aways down.
I used a bobby pin with a unicorn on it, so you could see where I placed it. I usually use very few bobby pins. Why? Because I can never find more than like two at a time. It would probably stay in better if you used three or four, though.
It is not going to look PERFECT - even people with non-layered hair won't have buns that look perfect without using a product. But, it looks pretty close. To get all the fly-aways to lie flatter, I think you could try braid spray (but I haven't tried this yet).
Me using this style in a performance:
Variation: Don't bother with trying to tame fly-aways for a messy bun - a fun, casual style.
Next lesson - low ponytail and pull-through ponytail
I have noticed recently that a lot of people seem to be having trouble figuring out how to style layered hair, or hair with a side part. Since I have both layers and a side part, I thought maybe I could offer some advice. So for the next few weeks, in addition to regular blog posts (um, if I remember), I'll have a new feature about how I style my hair.
First, song challenge... Day 05 - a song that reminds you of someone
This song reminds me of how one of my friends was there for me in some awesome ways in elementary/middle school :) Anything I'm going to post for this day is going to be incriminating, I feel... lol
How I Style My Hair, Part One: Basics and High Ponytail
Let me introduce you to my hair first. It has long layers, giving it a nice angled shape on the bottom. I also have a heavy side part in the front third-ish of my hair. (PS: This is our awesome lyrics wall in our room! Harper made it. And if you're wondering - we took these pictures before we left for break, hence why they are featuring our dorm room, not my house.)
Here's my hair from the back (excuse my pajama pants... I don't really have an excuse though, I'm just lazy):
I live in a pretty dry climate, so I get a LOT of flyaways.
The first style I'm going to do is a high ponytail, because it's a basic style for a lot of others, and is a good way to learn how to deal with layers.
To start, you'll need a hairbrush, water, and a hairband.
If you wear glasses, it's best to take them off before starting. Brush your hair, using water to tame fly-aways.
With non-layered hair that has a straight part, it's pretty easy to do a ponytail. You can kind of just gather up the hair on the sides, brush it together, and voila. That doesn't work as well for me...
It just looks kind-of off, and the hair from my part is all bunched up. Putting my hair into a ponytail takes just a little more effort.
You want to start on the side with the bigger part. Gently start brushing the hair up and back.
Do the same on the other side.
Now you've probably noticed there's a gap because of the part. This is normal. After you have the sides brushed up, brush back right over this area. It will smooth out the part and make the hair look even.
You might have to do this a few times as you gather the rest of the hair.
After you have the front taken care of, start brushing up and back from the sides and the back, gathering all of my hair. It's important to brush all of it up, because of the layers. If you try to just gather it with your hand, chances are you won't catch all of the layers and they will fall out. Also, if you brush as you go, you won't have any bumps.
You might notice that it's a little all over the place. This is normal. That's where the water will come in.
Wet your brush, and starting at the top of the gathered hair, just brush it. This will help it all to go in the same direction. The nice thing about having layers is, again, you get an angular shape, and that looks good in a ponytail.
Now you can do any fixes you need to (you might need to brush it all together again, if you haven't been holding onto it very tightly), and secure it with a ponytail holder. You could also put the ponytail holder in and then brush the ponytail out.
There you go! You have a nice high ponytail that's not going to fall out!